Showing posts with label Tutorials. Show all posts

Friday, May 4, 2018

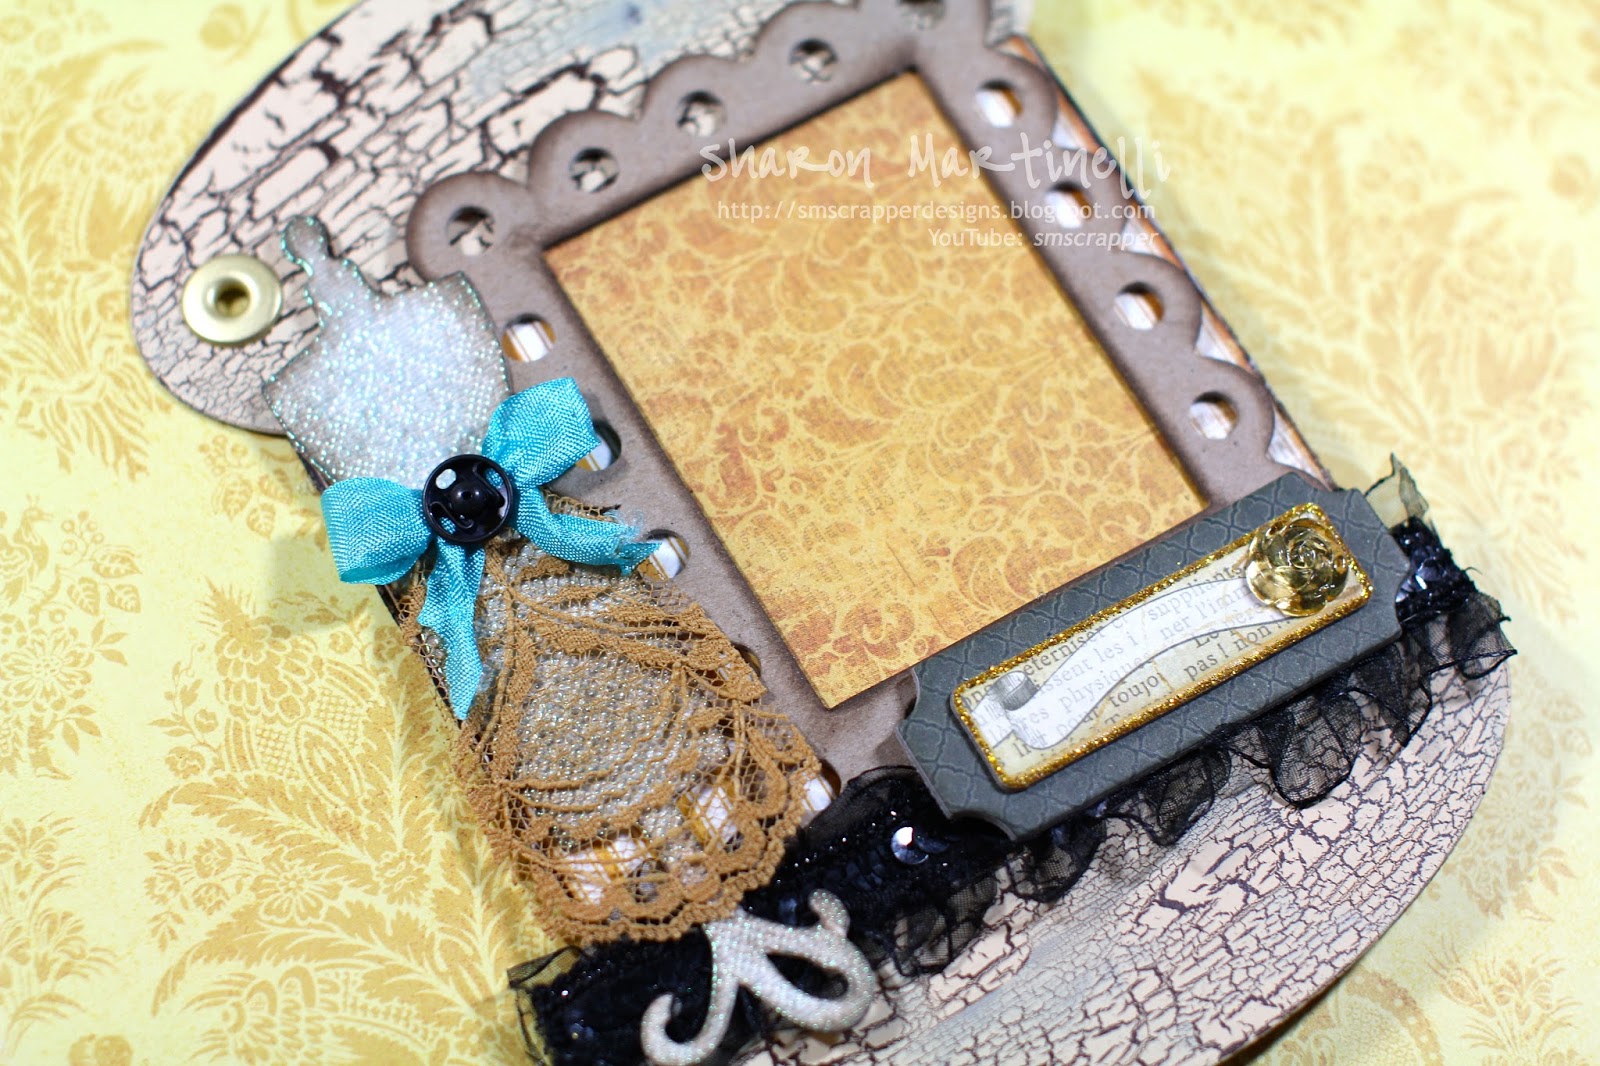
Spool Mini Album

Hi everyone!
Long time no post, huh?
Yes, unfortunately it's been a few years since I've been able to post anything on this blog, life definitely has gone on and taken over, but if you follow me on Instagram, you've seen a bit of what I've been up to all this time. If you follow me on my Youtube channel, you definitely know everything about what my post is today. If you don't follow me on my other social media accounts, I suggest you do, so you int miss out (check the directs link on the sidebar of this site).

I've been posting videos since late February again, and I've walked you through how I created the mini album I'm about to show you. It's been one of the most labor intensive editing jobs I've done, since the making of this album, due to my responsibilities, and lack of free time, took place within many different days. It was not all filmed at once, not in one day (I think you can see the variations of my nail polish which give it away hehehe).

For the first time, I decided to record the whole process of making a mini album. I've had multiple requests throughout the years to do so, and I finally I did it. Took a while to edit, but it's finally finished. I hope you enjoyed the process if you watched all of the videos (if you didn't you can click HERE).
Prepare yourselves for a ton of pictures! Hope you liked them. If you have any questions, you can always leave a comment, or contact me directly at smscrapper@gmail.com.
Thanks for stopping by!


Wednesday, November 4, 2015

Color Explosion Technique Tutorial

Hello everyone!
Today I'm sharing with you a new technique tutorial. It is such a fun one, which I hope you enjoy!
I used Canson watercolor paper for the base, Lindy's Stamp Gang Magicals, as well as embossing powder. The last thing I used was a spray bottle with water. Very few supplies, but you will create awesome results with them.
I hope you enjoy the video tutorial and the pictures below. Please share with me if you try it! I'd love to see your results!


Monday, August 10, 2015

Embossed Webbing Technique

So, it's been quite a while since I shared any type of tutorial with you. As you know, life has taken over, and I've kind of been separated from my supplies for many months now. It's been tough, but I've been wanting to be a little more aggressive, and make some time, when I can, to do a few things, maybe as a way to get back into the "craft every week" kind of days...things have certainly changed around my house, and my life (all good things though), and I find myself with less and less time to dedicate to actually crafting...you know me, I'm a slow crafter, so a project that could probably take an hour for one person, will probably end up taking four for me, and that makes the whole "getting  a project completed" pretty darn difficult at this time.

Today, I finally come to share a tutorial with you, of a technique I hope you enjoy trying out. The effect and background you can create with it are really cool, and though it might look a bit intimidating at first, it's quite simple to do.
Take a look at the steps I took to create it, and check out the results. I hope you are inspired to try it out! Let me know in the comments what you think, and any questions you might have. I'll be glad to help. Enjoy the tutorial!

Step 1
Get a piece of white cardstock, and cover it entirely in Versamark Ink


Step 2
Grab a few Lindy’s Stamp Gang Magicals, and a small dry fluffy brush, ( I used Chateau Rose, Cosmopolitan Pink, A Bit o’ Bubbly, and Mercy Beaucoup Mint), and dab the brush in the Magicals to pick up color.


Step 3
Spread each Magical color randomly all over the white cardstock covered in the Versamark Ink. Do one color at a time to avoid mixing the powders in the jars when switching colors with the brush.


Step 4
Get a piece of fusible webbing (you can find it at your local craft stores in the quilting section), and lay it on top of the background you have created with the Magicals.


Step 5
Take some different colors of embossing powders (I used Raspberry Lemonade, Geranium Coral Blush, Café au Lait, and Weeping Willow Green Gold), and spread a little bit of each one, randomly on top of the fusible webbing. Handle with care to avoid adding too much powder, or getting powder all over your workspace.


Step 6
Carefully lift the cardstock, and using your heat tool, heat your cardstock from underneath to melt the powder, and fusible webbing. Take care to move the heat tool frequently, and do not leave it aimed at one place for too long, to avoid burning the cardstock, or overheating the embossing powder, and fusible webbing.


Step 7
Once all embossing powder has melted, you can take the heat tool, and heat from the top of the cardstock, moving the tool frequently to allow the webbing to curl, and web, creating the effect shown. The Magicals in the background will show through the random spots of the cardstock where little to no webbing stuck.


Step 8
Add your textured background to the project you are working on, and embellish, as you like.

Friday, October 17, 2014

Thanksgiving is just around the corner!!!

Hello friends!
Today I wanted to share with you a fun tutorial, on how to create cute place card holders, as well as treat holders for your Thanksgiving table. The adults and the kids will love getting these at their place in the table. It looks like it's complicated to make, but it's really not!


Used some I Am Roses Flowers ( G1-426) (L21) (L20), as well as some Stampin up Sweet Treat cups, paper from the Ambrosia Collection by Basic Grey, some googly eyes, and some lightweight chipboard.

These are super cute and easy to mass produce, so no matter if you have 4,6,12 or even 24 people coming over for dinner on Thanksgiving Day, you'll have no trouble getting these done. Hope you enjoy the tutorial below!

Monday, October 6, 2014

"Cutie" Scrapbook Layout

Hello everyone! Today I want to share with you how I created my layout for the Lindy's Stamp Gang October Color Challenge reveal day. You'll get to see some close up shots, as well as enjoy a quick video tutorial on what I did to create it!
If you've followed me on my YouTube Channel for quite a while, you know very well the love affair I have with Lindy's Stamp Gang embossing powders. I just think they are so unique, and give any project such an awesome look. In this layout, I used several of them, in different ways, I love the two toned effect on the different areas of my layout. In the close up shots, you'll be able to tell the awesomeness of these powders. Take a closer look:  Sharon LSGOCTCC1 copy Sharon LSGOCTCC2 copy Sharon LSGOCTCC3 copy Sharon LSGOCTCC4 copy     

This is the finished layout in its entirety, and the video tutorial for you enjoyment. Hope you like it!Sharon oct 1

Products used:
- Hibiscus Rose Orange Embossing Powder
- Desert Moon Copper Teal Embossing Powder
- Black Orchid Purple Startburst Stain
- Stampendous Embossing Ink
- The Crafter's Workshop Mini Tile Texture template
- Dylusions Luscious leaves Stencil
- Petaloo Flowers
- Hobby Lobby Flowers
- Petaloo butterflies
- White doilies
- MME chipboard Sticker
- Prima Wood venner border
- Paper swirls from my stash
- Chipboard alpha from my stash
- Guesso and Soft Matte Gel Medium by Golden

Wednesday, October 1, 2014

Altered Paper Bag Tutorial

Hi there, and happy fall!

October is here and fall is in full swing, and you know what that means, Thanksgiving and Christmas is just around the corner!

Today I wanted to share with you an altered paper bag I created for the I Am Roses challenge for this month on the I Am Roses Challenge blog. This month's theme is to use black and orange and the challenge is to use/create/incorporate a bag.

I altered a kraft lunch bag using one of my Gorjuss Girl stamped images, and my daughter loves it!


I used Teresa Collin's Haunted Hallow's paper, Lil Inker Designs Small Bow Die, Simon Says Stamp "Expressions for you" Set (die and stamps), as well as I Am Roses daisies in black (D1-505), and also a few rose buds in both black and white (T30-274) (T30-151). In addition i added a doily, and some black tule to the back of the bag as my base for everything. Please enjoy the video below so you can see how this came together. To not miss any of my other tutorials, please subscribe to my YouTube Channel here. Thanks for stopping by!

Friday, September 19, 2014

A Fall Hello


Hello friends!
Seems like life has taken over my world, because again I have succumbed to posting fewer times than I would genuinely want to post in a month, ugh! Totally annoying because of course I'm so super hyped about getting a rhythm and then life happens and I'm stuck like chuck lol!
Well, I'm not going to let that pull me down, and we'll just go ahead with the next little project I have to share with you.


Made a fall themed card, as everyone seems to be longing so much for that time of the year which is quickly approaching, and I just had to join in the fun!
Like with most of my projects, I've made a quick video so you can see the process of me making this card. It has a funky background that shimmers in the light thanks to my trusty Lindy's Stamp Gang products. The I Am Roses items I used are the perfect shade for the spray combo I used. This card will be going in a special someone's package I'm taking to the post office hopefully today (or Monday hehe!).
You can enjoy on the video on my channel HERE, and here are the products used:
- I Am Roses SP1 Flower Spray
- I AM Roses  K1-805 Skeleton Leaves
- The Crafter's workshop  Mini Woodgrain Stencil
- Simon Says Stamp Small Hello Die
- Cheese Cloth
- Seam Binding
- Yellow Sequin
- Light Molding Paste by Golden


Friday, August 1, 2014

Altered Round Box and Video Tutorial

It's August everyone! Can you believe it! Unreal how the summer has flown by! Today I wanted to share with you a metal round box I altered for a friend, as part of the I Am Rose's August Challenge.
This month's challenge is to make something for a friend, and altering this small box was the perfect thing using a variety of I Am Roses Flowers.
         
As you can see below, I did not alter the inside of the container, but you sure could if you wanted to. It's perfect to hold a little gift, a piece of jewelry, or some candy or any other small treat. The variety of flowers and colors look great with the paper collection I used.


Here is all that I used to make it:
- Metal round box (from my stash, but you can find them at Michaels, Joann's or Hobby Lobby).
- Kaiser Craft Hummingbird paper Collection (also used Sticker and die cuts from the collection.
- Mint Green Puffy Semi Rosebud from iamroses.com 
- Mixed Rainbow Pastel Lily Paper Flowers from iamroses.com
- Mixed Lily paper Flowers from iamsroses.com
- Tulips in varied pinks from iamroses.com
- White Fern Leaves from iamroses.com
- White Rosebud from iamroses.com 

You can watch a quick tutorial below. Thanks for stopping by!

Thursday, July 31, 2014

U R My Favorite! Card & Tutorial

Hello friends!
There's always something you can count on every month, and that is for Lindy's Stamp Gang to put out a new and fabulous color palette to get the inspiration flowing! This month's color palette was super patriotic yet so full of possibilitiesm and you might have seen on the Lindy's Stamp Gang blog earlier this month what I created using it:

I made a step by step video tutorial, which if you are subscribed to the Lindy's Stamp Gang Newsletter, you already saw first than anyone else, as it was released to newsletter subscribers only, until today, when I make it public for everyone (you can subscribe to their  newsletter if you are not already by clicking HERE).  In the video, you get more details on how the colors and textures were achieved. So much fun to make!
The video is now public, and available for watching on my channel.  

I used the following products to make this card:
-Mini Bubble Doily Stencil by The Crafter's Workshop
-Clear Embossing Fluid by Stampendous
-Mini Art Is Stencil by The Crafter's Workshop
-Modeling Cream in the color Pearl Champagne by Viva
- Retired Crackle Background Stamp by Stampin' up (2005)
-Scotch Broom Yellow Two-toned Embossing Powder by Lindy's Stamp Gang
-Wood Veneer Frame from Michael's stores
-Wood Veneer Clock by Prima
-Wood Veneer Tag by Prima
-Scrabble Tiles from my stash

Wednesday, July 9, 2014

"Thanks" Mixed Media Background Tutorial

Hello everyone!
I've been thinking of bright colors which are perfect for the summer, but which I've been failing to see lately because it's just been so dark, gray, and gloomy here where I live. It rains everyday! Everyday! Thunderstorms, lightning, floods, you name it. I'm sick of rain! I decided to make a bright thank you card to lift my spirits.
I started by adding water to my work surface (a piece of watercolor paper), and then added on top  some super bright colors from the Caribbean Cruise Flat Fabio Spray Set from Lindy's Stamp Gang. This set is one of my favorites, and is also really close to my heart, because I helped design it. Adding water first to my background allows for the sprayed colors to blend seamlessly into the background. I used Hisbiscus Rose, Mango Mania, Luscious Lime, and Pineapple Paradise.

After that, I started adding on the texture. I took a trellis stencil by Heidy Swapp, and added some Golden Soft Gel medium (Gloss), and also a bit of Golden Light Molding Paste. After letting them dry a bit, I used the same colors stated above to spray over the new surface created by the mediums. You can see in the picture below the different finishes they created on the surface of my card.

Next, I took my Signo Uni-ball White Pen to outline the trellis shapes all around the card randomly.
After that, I took extra watercolor paper, and sprayed some of the same colors I used on my background, so I would have some colored paper where to emboss the trellis shapes you see added on top of the molding paste.
I used a Stampin up Stamp set called "Mosaic Madness" to get these individual mosaics, very similar in shape to the trellis background. I embossed them unto my colored watercolor paper pieces using Lindy's two-toned embossing powder in the color Midnight Pewter.
After embossing the shapes, I punched them out using the coordinating punch to the stamp set (sold by Stampin' up). I also stamped randomly with Archival Black Ink on my background, using a thiner stamp from the same stamp set. With some dimensional adhesive I glued the individual mosaics I embossed, to the background.

I took the wood veneer word "thanks", from Studio Calico, and embossed it using the same embossing powder I used before, and adhered that to the card. I lined it with my white pen to make it stand out.
My last step was to add the background to my white card base, and sprinkle and splatter some Frozen Jack Frost Spray on top of it, to finish off the card.
Here's the finished product:
I have a video tutorial available on my channel so you can watch the process on how this came together. I hope you enjoyed today's tutorial, and you join me back right here soon. Until next time!

Friday, June 13, 2014

Thank You Canvas Bag Tutorial

Happy Friday everyone!
Today I wanted to share with you a tutorial on how I altered this cute canvas bag using I Am Roses Products. I initially got the plain bag at Target for just $1 . I got a few as I thought they had lots of potential for little gifts and even party favors!
Please watch the quick tutorial video on everything I did to get this plain little bag, colorful and full of dimension by clicking HERE. For your convenience, I have added names and the direct links to what I used, below this next picture. Hope you enjoy!


Products I used:
Canvas Bag (purchased at Target)
Lindy's Stamp Gang Flat Fabio in the color Pop Rock Purple
Heidi Swapp multiple dot Stencil (found at Michael's)
I Am Roses Big Taupe Crochet Flowers
I Am Roses Small Green Leaves
I Am Roses Pink and Yellow Mulberry Roses
I Am Roses Mixed Pastel Lilies
I Am Roses  White Mulberry Paper Flowers (I colored it green)
I Am Roses Small White Butterfly (I colored it green)
White card stock
Copi Sepia Multiliner
Chestnut Roan Colorbox Chalk Ink
Heidy Swapp Thank You Stamp (found at Michael's)
Related Posts Plugin for WordPress, Blogger...